Materials: Crate, wooden seat frame, fabric, padding, 1/4 inch elastic, sewing machine, and thread.
Step 1. Cut out your fabric to fit and allow for at least an 1 inch seam allowance.
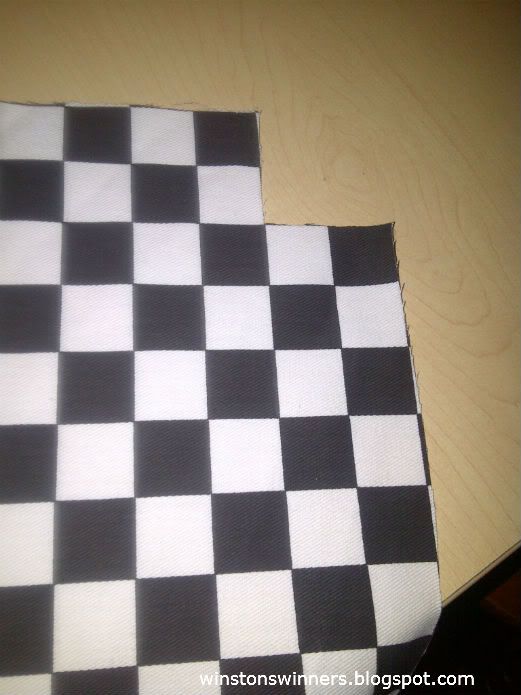
Step 2. Cut the corners of the fabric as
pictured, this will create a mitered
corner for your cover. These
corners will help your cushion fit
into the slip cover.
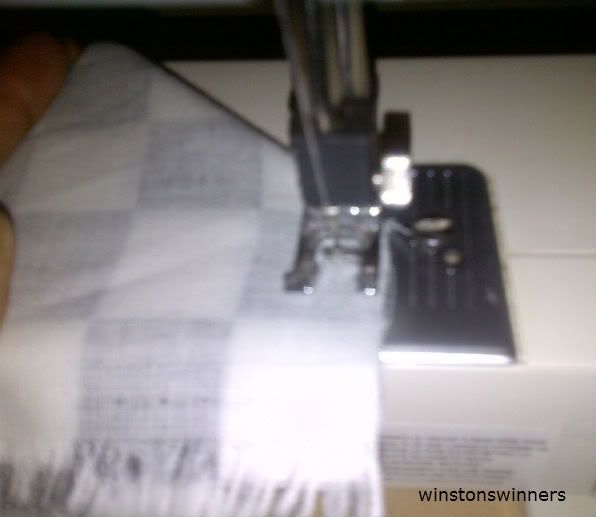
Step 3. The right sides of the fabric
should face each other
while the fabric is folded.
Sew the two sides
together to create this
pocket corner. Complete
this step for each corner.
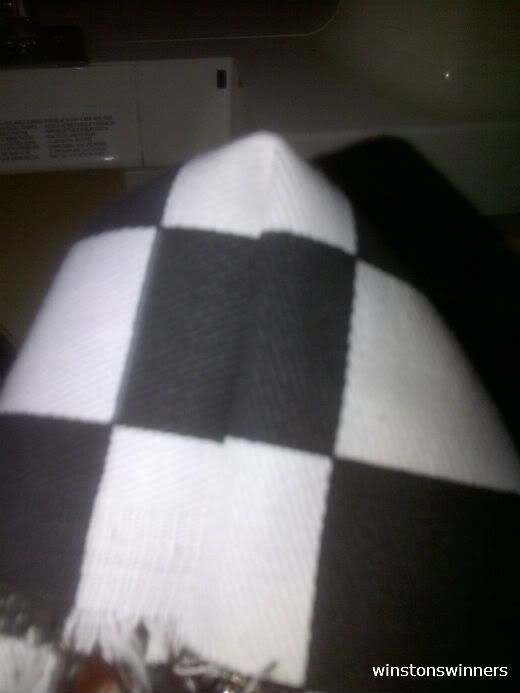
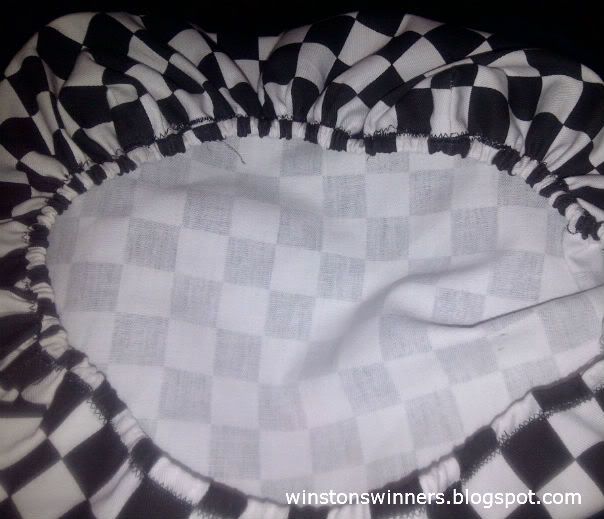
Step 4. While the fabric is on the wrong
side, using a ½ inch seam
allowance, sew around the
edges leaving space to fit your
elastic through.
Step 5. Run the elastic through the seam
and sew to seal it. I use a safety
pin to run the elastic through
the seam.
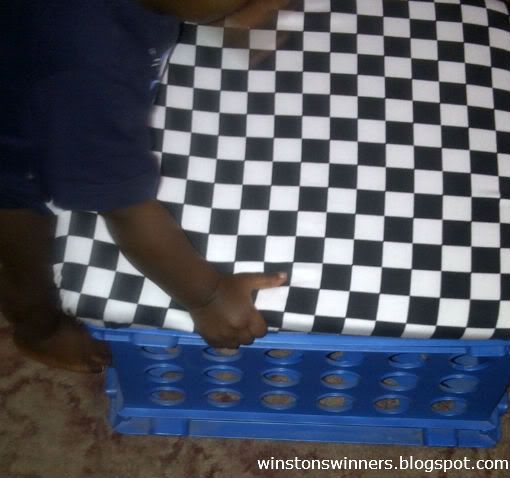
Step 6. Turn the cushion on the
right side and place on
your crate!
My 14 month old is trying it out :)
No comments:
Post a Comment