Tuesday, November 4, 2014
Saturday, February 23, 2013
Get the Scoop on Multiplication!

I found this wonderful resource many years ago, and it has worked VERY WELL for all of the students that have participated. Laura Candler did an amazing job of creating a resource that helps teachers help their students be successful.
Sunday, December 23, 2012
Halloween Glyph


Sunday, September 23, 2012
Diagramming Sentences

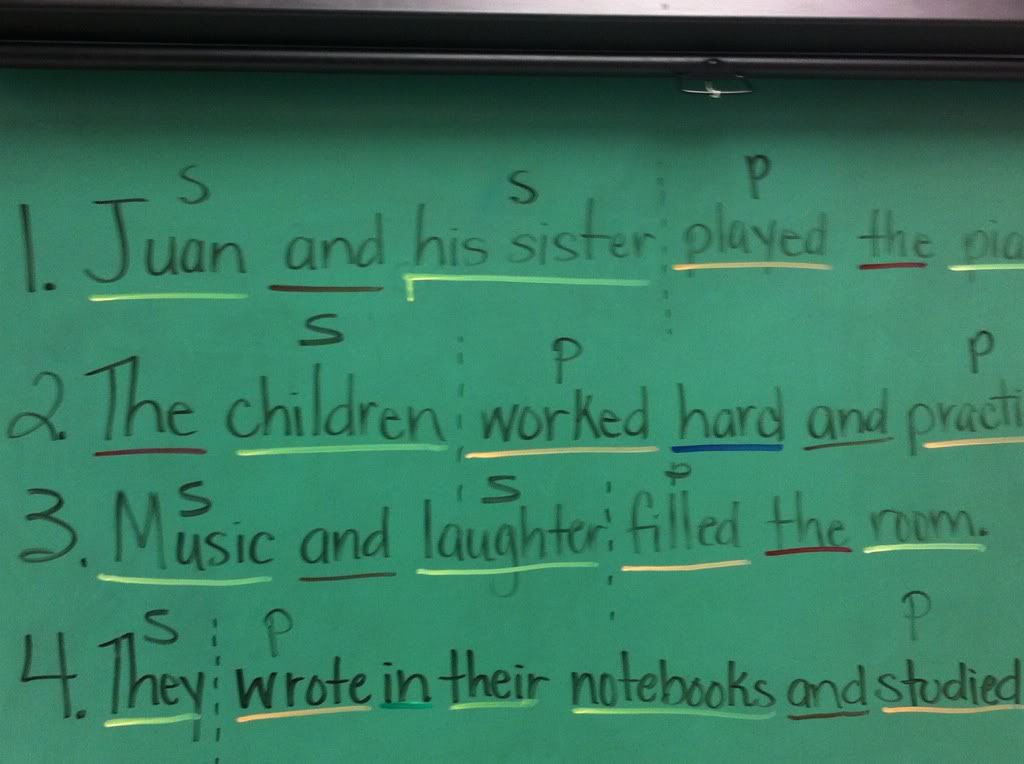
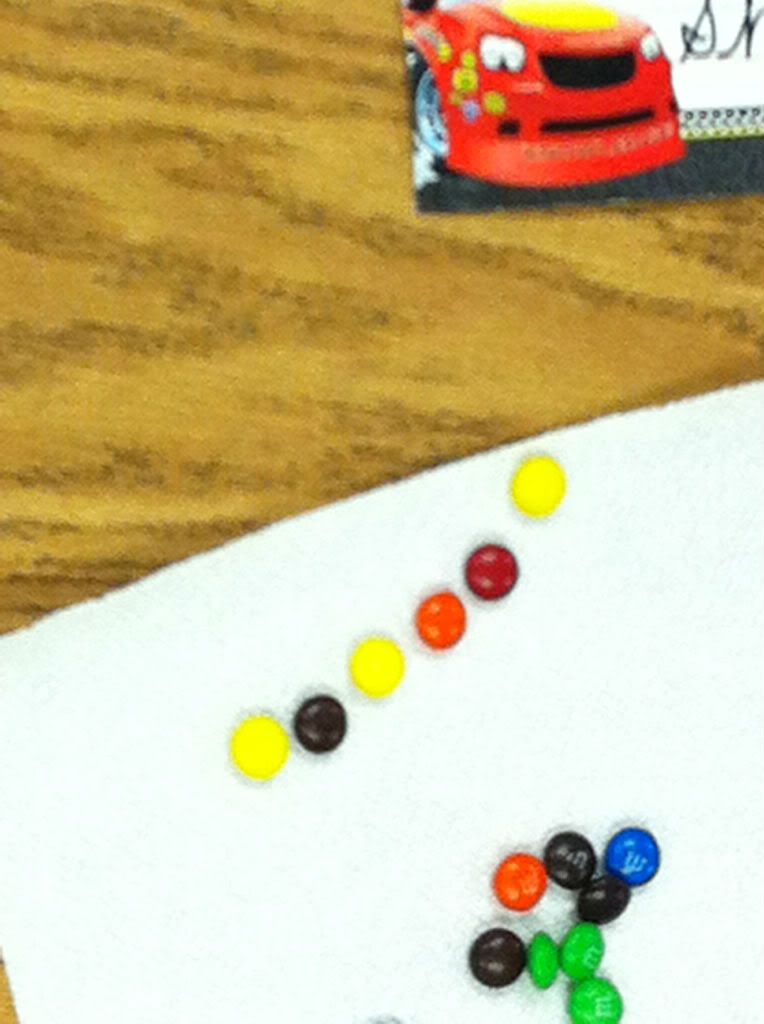
The M&Ms are used to represent each part of speech and modifier in the
sentence. The color coding is red=articles, orange=verbs,
yellow=nouns, green=prepositions,
blue=adjectives, purple=adverbs,
brown=conjunctions, and white=interjections.
The picture represents the following
sentence: Mary and Susan ate the cookies. We are introducing the different parts of speech as they appear in our grammar lessons. The program has many components and color coding the sentences is only one part. I hope that with a lot of practice students will become more comfortable and familiar with sentence structure and enjoy diagramming sentence :)
Try it out!
Sunday, August 26, 2012
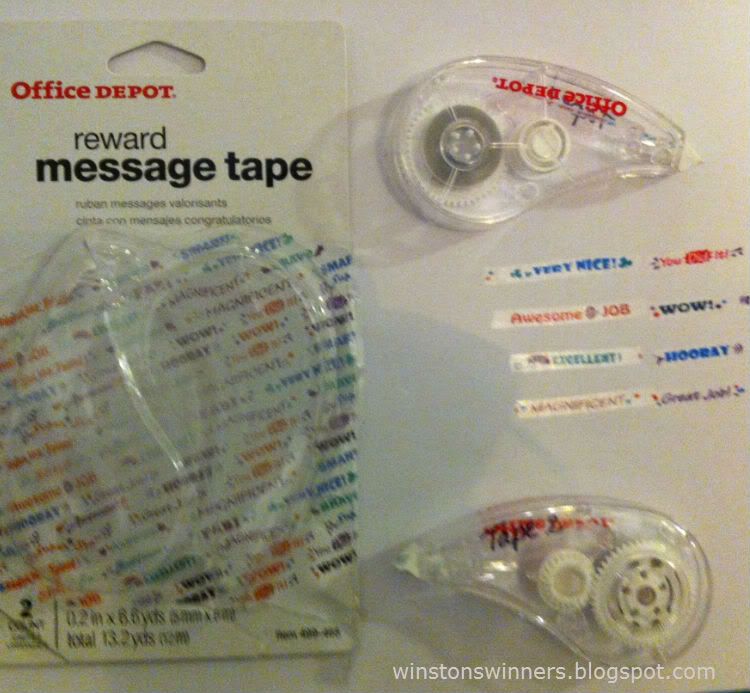
Cute Rewards!
Saturday, July 28, 2012
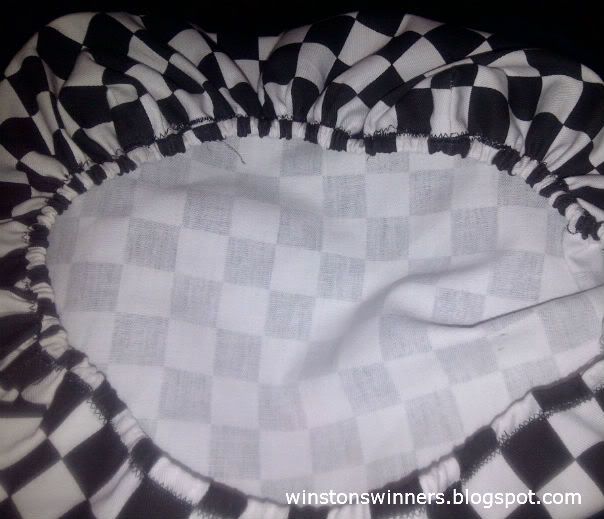
Seat Crates: Creative, Comfy, and Functional
The newest Pinterest craze are these wonderful crates turned into seats! The norm has been to use fabric, padding, and a staple gun to construct this comfy seat! I am going to put a spin on this creation because I have a habit of changing my classroom theme quite often. This method of creating the seat cushion will allow you to remove the cushion to be washed or change your theme.
Materials: Crate, wooden seat frame, fabric, padding, 1/4 inch elastic, sewing machine, and thread.
Step 1. Cut out your fabric to fit and allow for at least an 1 inch seam allowance.
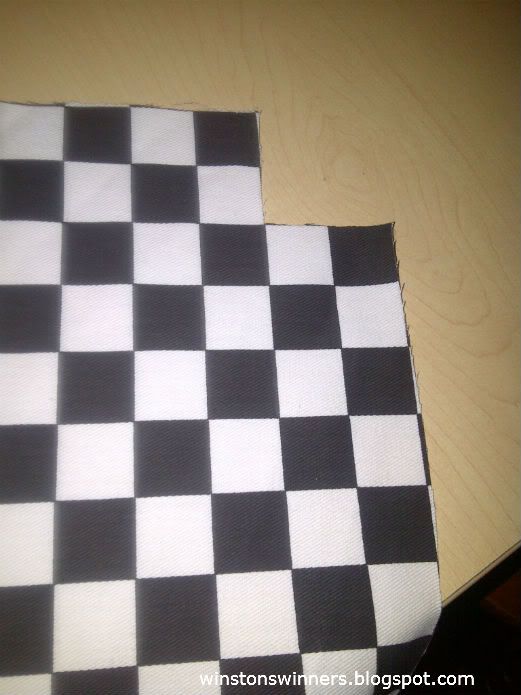
Step 2. Cut the corners of the fabric as
pictured, this will create a mitered
corner for your cover. These
corners will help your cushion fit
into the slip cover.
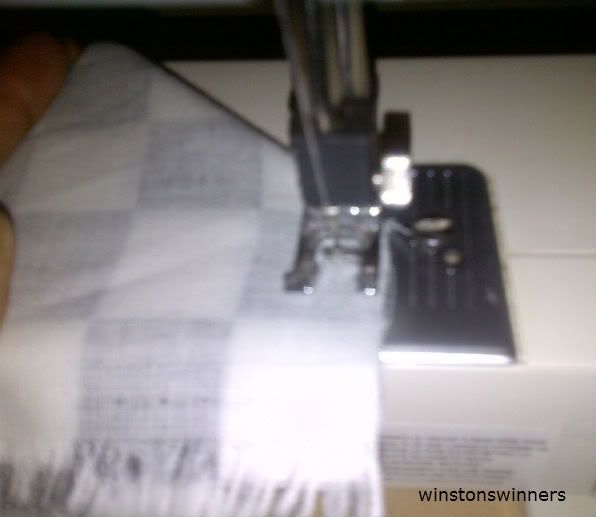
Step 3. The right sides of the fabric
should face each other
while the fabric is folded.
Sew the two sides
together to create this
pocket corner. Complete
this step for each corner.
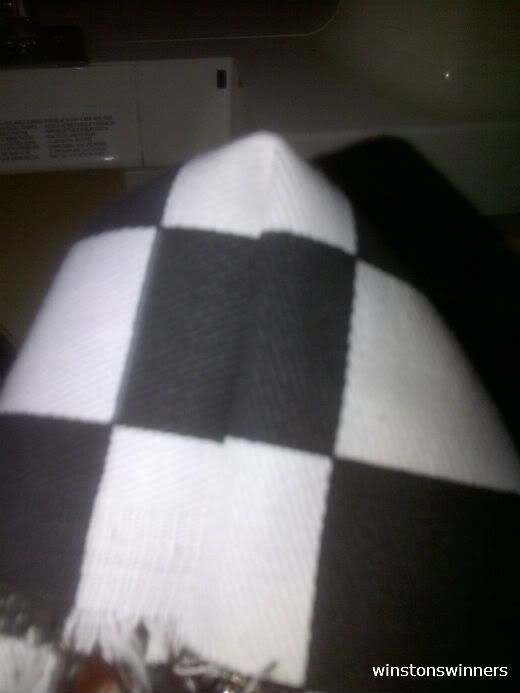
Step 4. While the fabric is on the wrong
side, using a ½ inch seam
allowance, sew around the
edges leaving space to fit your
elastic through.
Step 5. Run the elastic through the seam
and sew to seal it. I use a safety
pin to run the elastic through
the seam.
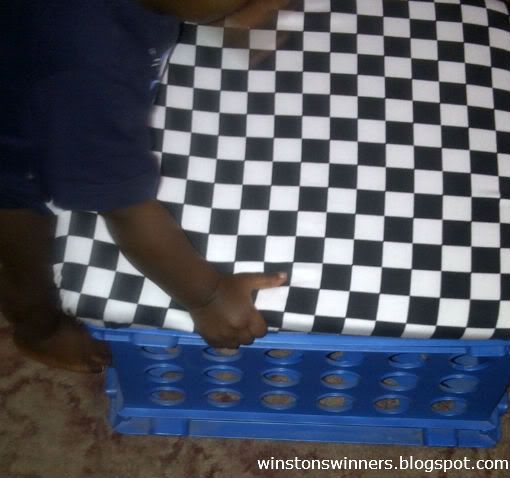
Step 6. Turn the cushion on the
right side and place on
your crate!
My 14 month old is trying it out :)
Materials: Crate, wooden seat frame, fabric, padding, 1/4 inch elastic, sewing machine, and thread.
Step 1. Cut out your fabric to fit and allow for at least an 1 inch seam allowance.
Step 2. Cut the corners of the fabric as
pictured, this will create a mitered
corner for your cover. These
corners will help your cushion fit
into the slip cover.
Step 3. The right sides of the fabric
should face each other
while the fabric is folded.
Sew the two sides
together to create this
pocket corner. Complete
this step for each corner.
Step 4. While the fabric is on the wrong
side, using a ½ inch seam
allowance, sew around the
edges leaving space to fit your
elastic through.
Step 5. Run the elastic through the seam
and sew to seal it. I use a safety
pin to run the elastic through
the seam.
Step 6. Turn the cushion on the
right side and place on
your crate!
My 14 month old is trying it out :)
Thursday, July 26, 2012
Literacy Instruction
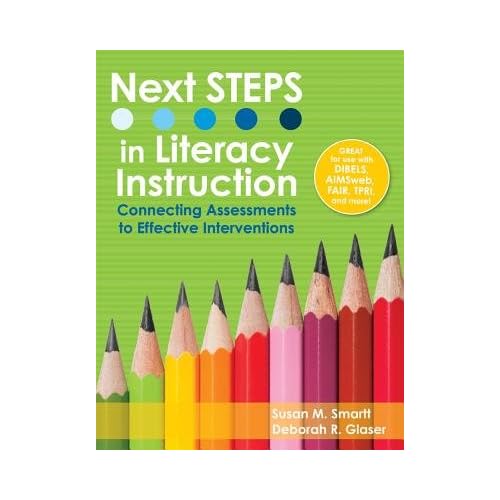 Summer reading :) I just finished reading Next Steps in Literacy Instruction and I decided to share my opinion with a quick review. I really wish I had this book to read when I taught first grade because it covers a lot of the information I learned during my first three years of teaching. The authors do an awesome job of explaining why and how DIBELS and AIMSweb are used for RTI. I am glad I finished reading this book prior to school, rather than reading it throughout the year. I will be using this book to help plan my intervention lessons.
Wednesday, July 25, 2012
Teacher M.O.O.S.E. Binder
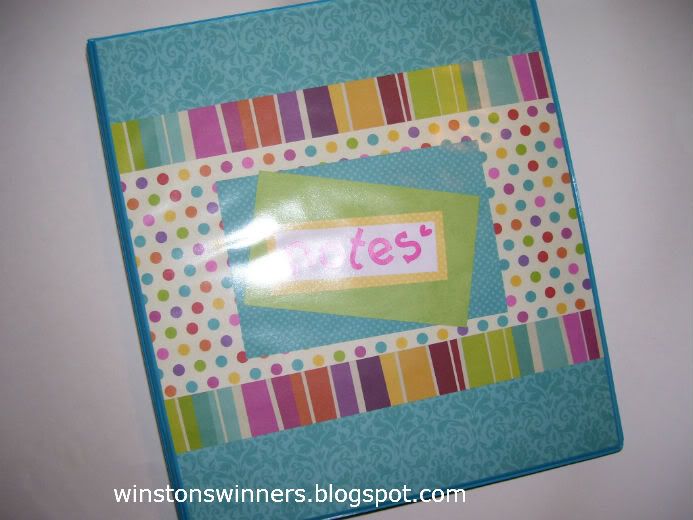 I have been working hard to create all of the wonderful projects I found via pinterest. One of my favorites is the teacher M.O.O.S.E. binder. It is a great way to organize all of the information that teachers may need to take home without taking three or four binders. Any acronym can be used and Ms. Smith has compiled a list of over 280. I decorated my binder using 12 x 12 scrapbook paper so that it could fully cover the front.
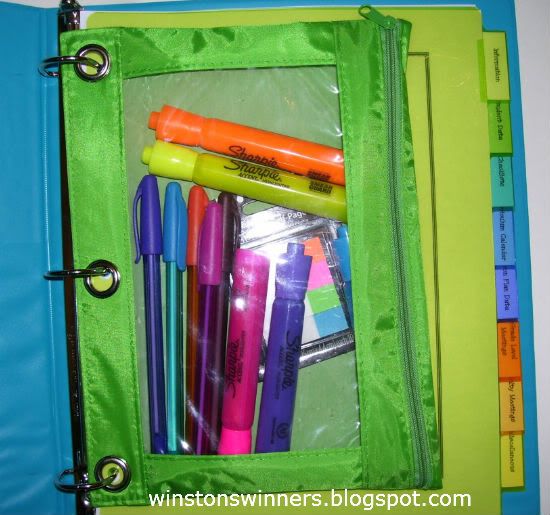
I prefer to grade papers, take notes, etc using colored pens. I added a pencil pouch to organize my pens, highlighters, and tabs. My only binder that is not decorated with my classroom racing theme. :)
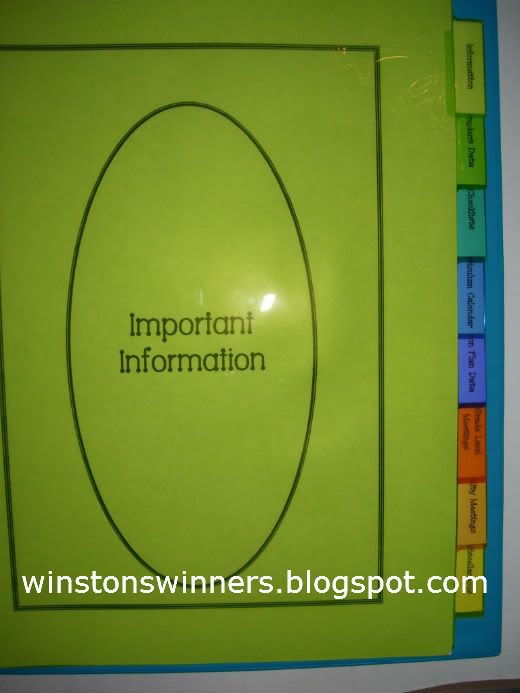
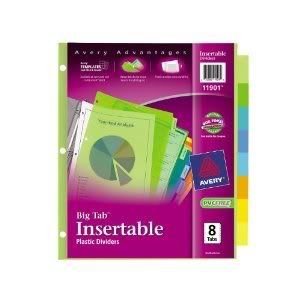
My binder is divided into eight sections. The sections can be changed base on your needs. I have added the template and it can be modified for your needs. I also used the Avery Big Tabs dividers. There are directions on how to modify the Microsoft Word Template for the new dividers. I have provided the template for the dividers.
Links for the binder:
Title Pages
Labels
Friday, June 29, 2012
Planning for Next Year :)
Hello. I have started planning for the 2012-2013 school year and I stumbled upon the new curriculum for third grade! Yes, the new transitional curriculum has finally arrived. All that to say, if you have started planning, check out the new changes. Enjoy your summer :)
Subscribe to:
Posts (Atom)